Visual testing with Playwright
Learn how to perform visual tests in Playwright

Playwright is a test runner that's perfect for verifying an application's user flows and functionality. However, did you know you can also configure Playwright to validate your application's appearance?
In this guide, we’ll explore how you can perform visual regression testing in Playwright end-to-end tests via Playwright’s visual comparisons. Learn how to begin visual testing with Playwright's default visual testing features. Then, discover how to take your visual tests even further by capturing interactive, debuggable snapshots at any point in a test run.
What is visual testing?
Visual regression testing (or, visual testing for short) is a testing methodology for checking and verifying the visual elements of your application's UI, such as responsive design, cross-browser/device differences, localization, dynamic content, and more.
Typically, when you perform visual tests, you compare a pre-approved baseline of your UI’s correct appearance against the UI after implementing code changes. You can perform visual testing manually or automatically using visual testing tools.
Visual testing is crucial for modern developer teams because most functional tests–the kinds of tests you may be running already–are ineffective for detecting visual changes at a pixel level. This lack of coverage results from the fact that UI can be functionally correct yet visually broken (think about a clickable login button hidden behind an image), and because styling is notoriously difficult to test (it's impossible to maintain style assertions across an entire application).
Can you visual test in Playwright?
Yes! Playwright offers visual comparison and snapshot testing features, which allow developers to capture screenshots of web pages or individual elements within an end-to-end test run and compare them to baseline images to catch unexpected visual regressions.
Get started with Playwright snapshot testing
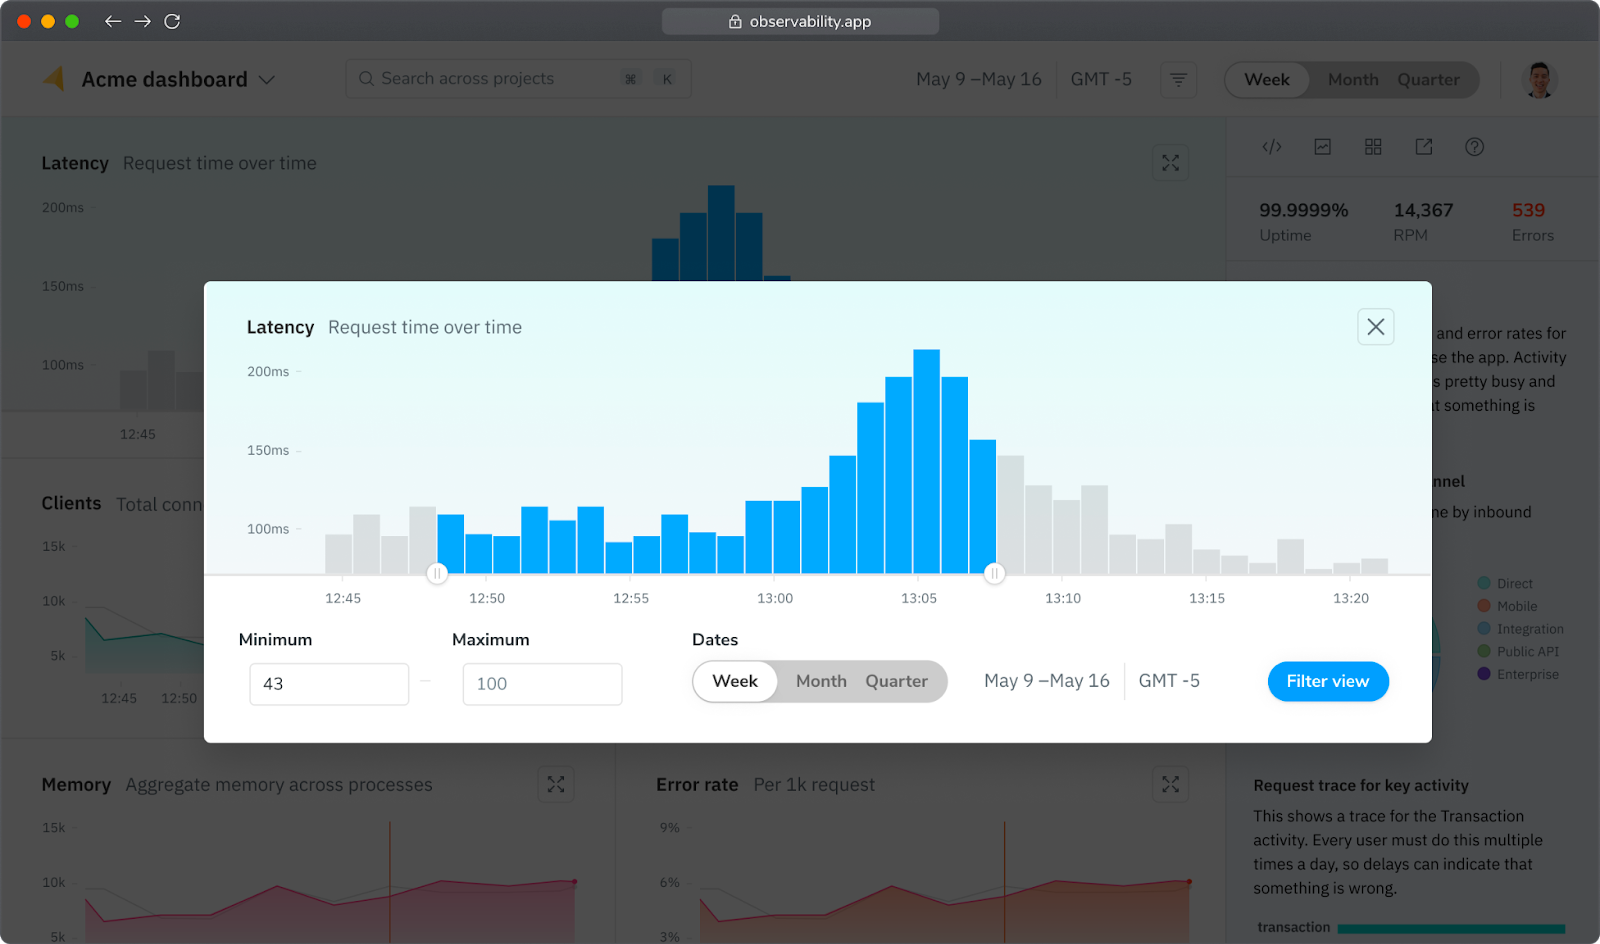
To begin snapshot testing in Playwright, let’s start with an example end-to-end test that opens a dialog and then clicks the close button:
// tests/dashboard.spec.ts

import { test, expect } from "@playwright/test";

test("Dashboard", async ({ page }) => {
  await page.goto("/dashboard/acme");

  await expect(page).toHaveTitle(/Acme Dashboard/);

  const expandButton = await page.locator(
    ".main .card:nth-child(0) .btn-expand",
  );

  await expandButton.click();

  const dialog = await page.locator(".dialog");

  const closeButton = await dialog.locator(".btn-close");

  await closeButton.click();
});
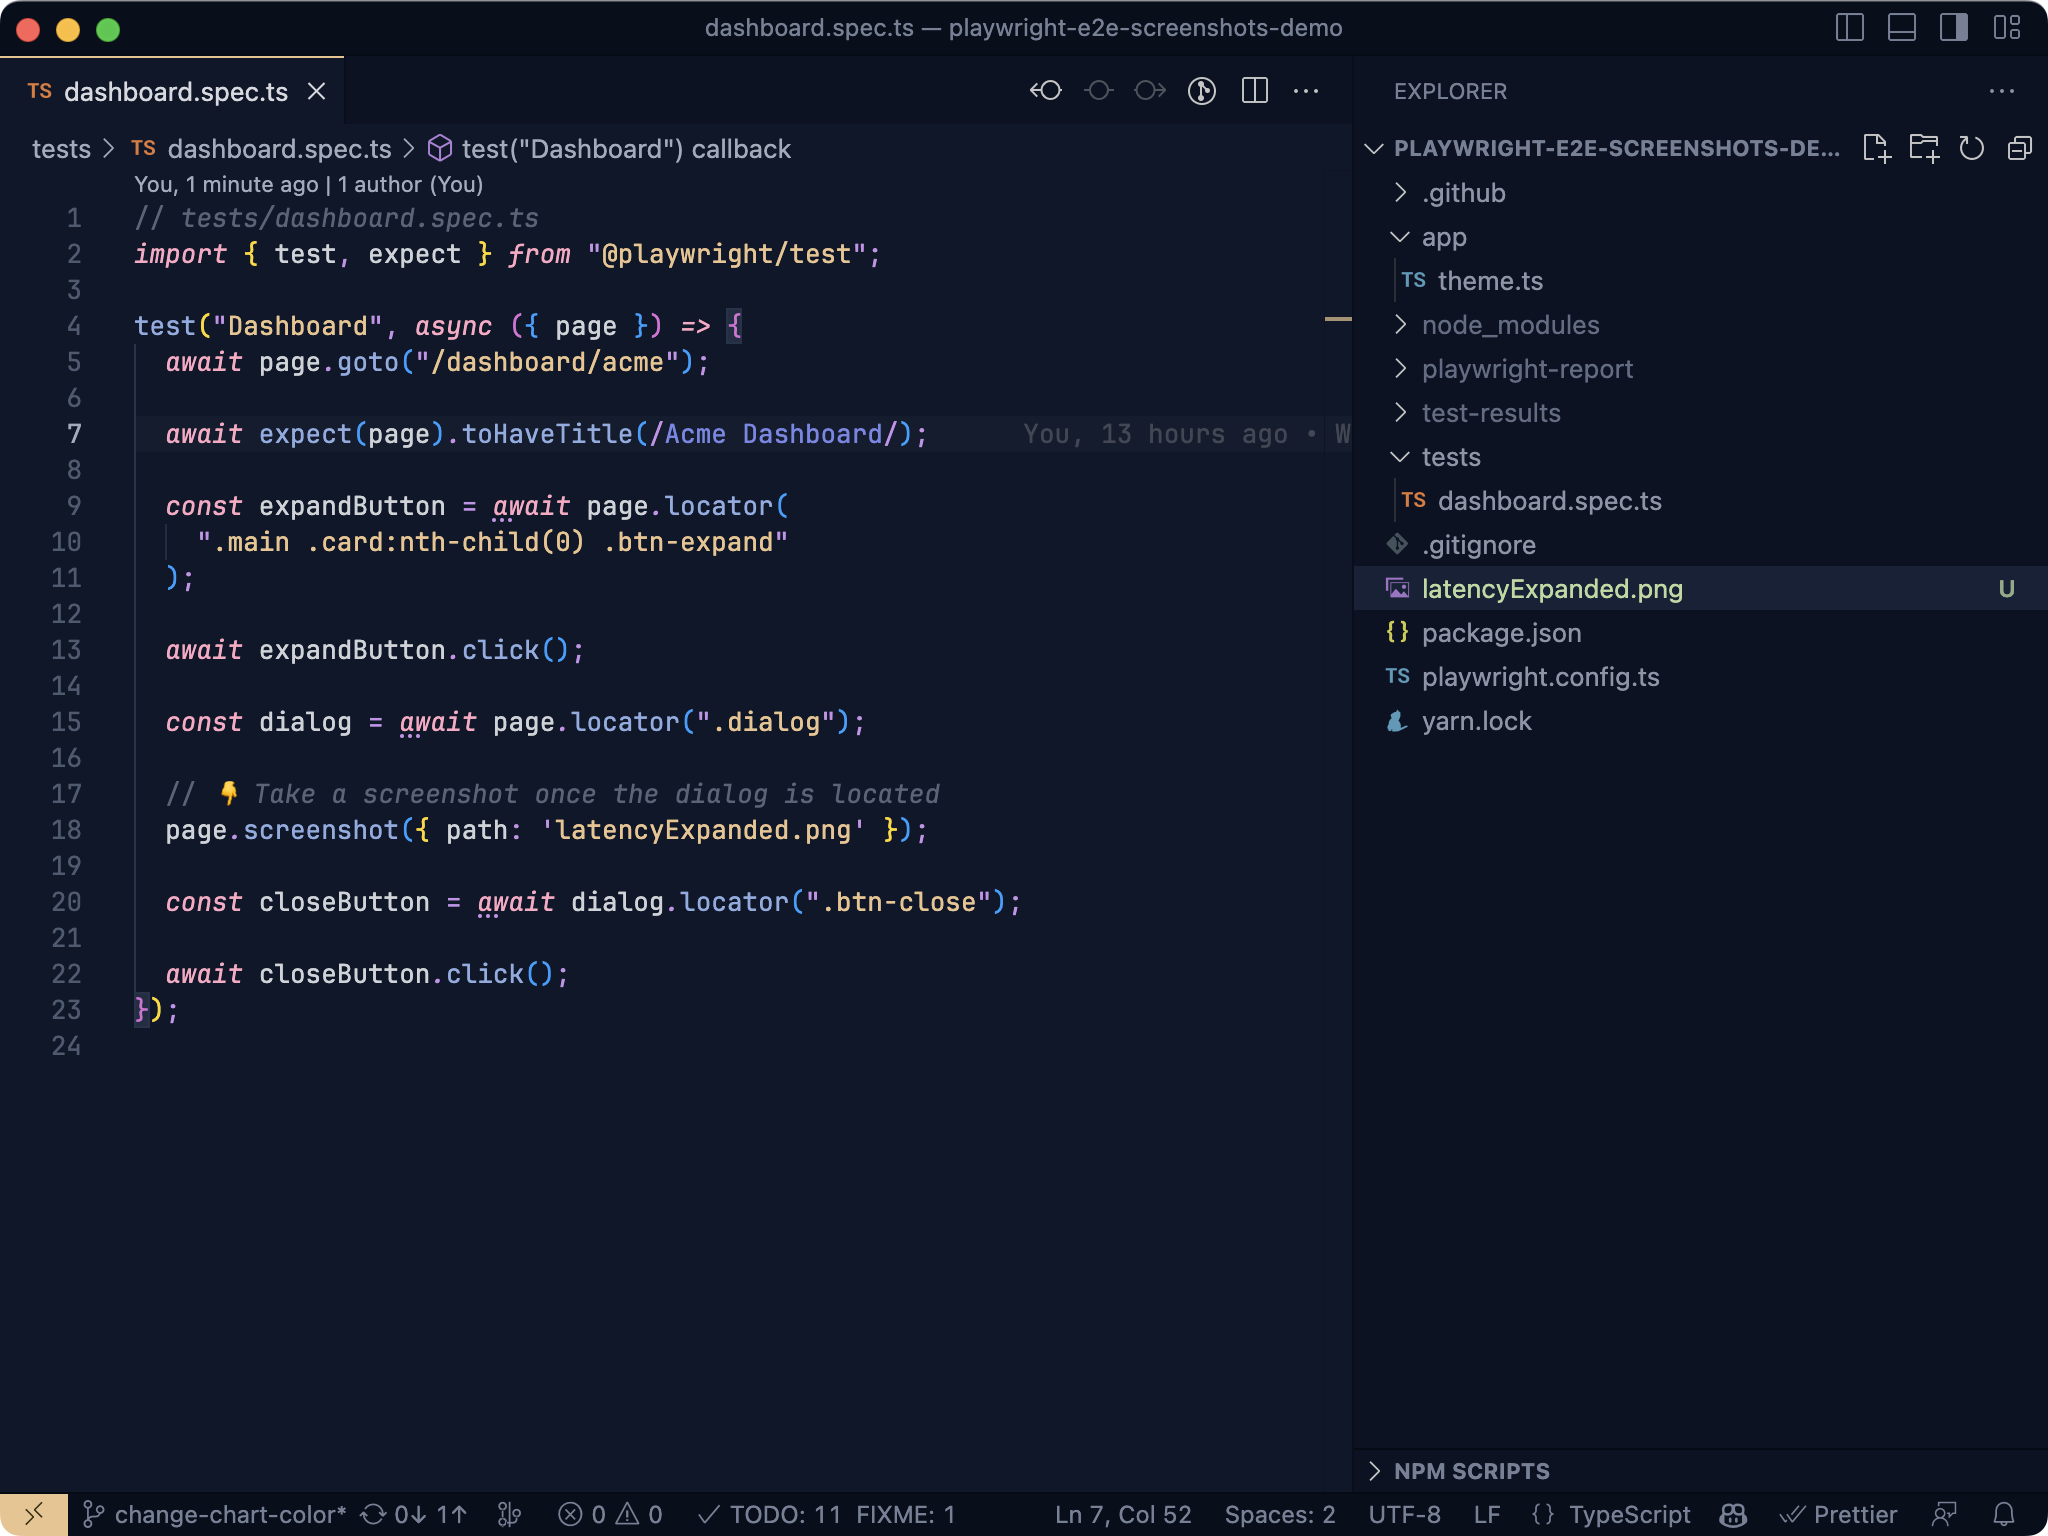
Playwright provides the page.screenshot API to take screenshots of the page you’re testing. To use it, add a line that calls the function at the part of the flow where a screenshot should be taken:
// tests/dashboard.spec.ts

import { test, expect } from "@playwright/test";

test("Dashboard", async ({ page }) => {
  await page.goto("/dashboard/acme");

  await expect(page).toHaveTitle(/Acme Dashboard/);

  const expandButton = await page.locator(
    ".main .card:nth-child(0) .btn-expand",
  );

  await expandButton.click();

  const dialog = await page.locator(".dialog");

  // 👇 Take a screenshot once the dialog is located
  page.screenshot({ path: "latencyExpanded.png" });

  const closeButton = await dialog.locator(".btn-close");

  await closeButton.click();
});
page.screenshot has a couple of options that may be useful to you. You can capture the full page height (instead of just the viewport height) and you can configure where the screenshot is saved:
await page.screenshot({
  fullPage: true, // Capture full page height
  path: 'screenshot.png', // Provide save location
});
You can also screenshot a particular element instead of the entire page:
await page.locator('.dialog').screenshot(...);Once you’ve updated your test, run your test command to save a screenshot:
yarn playwright test
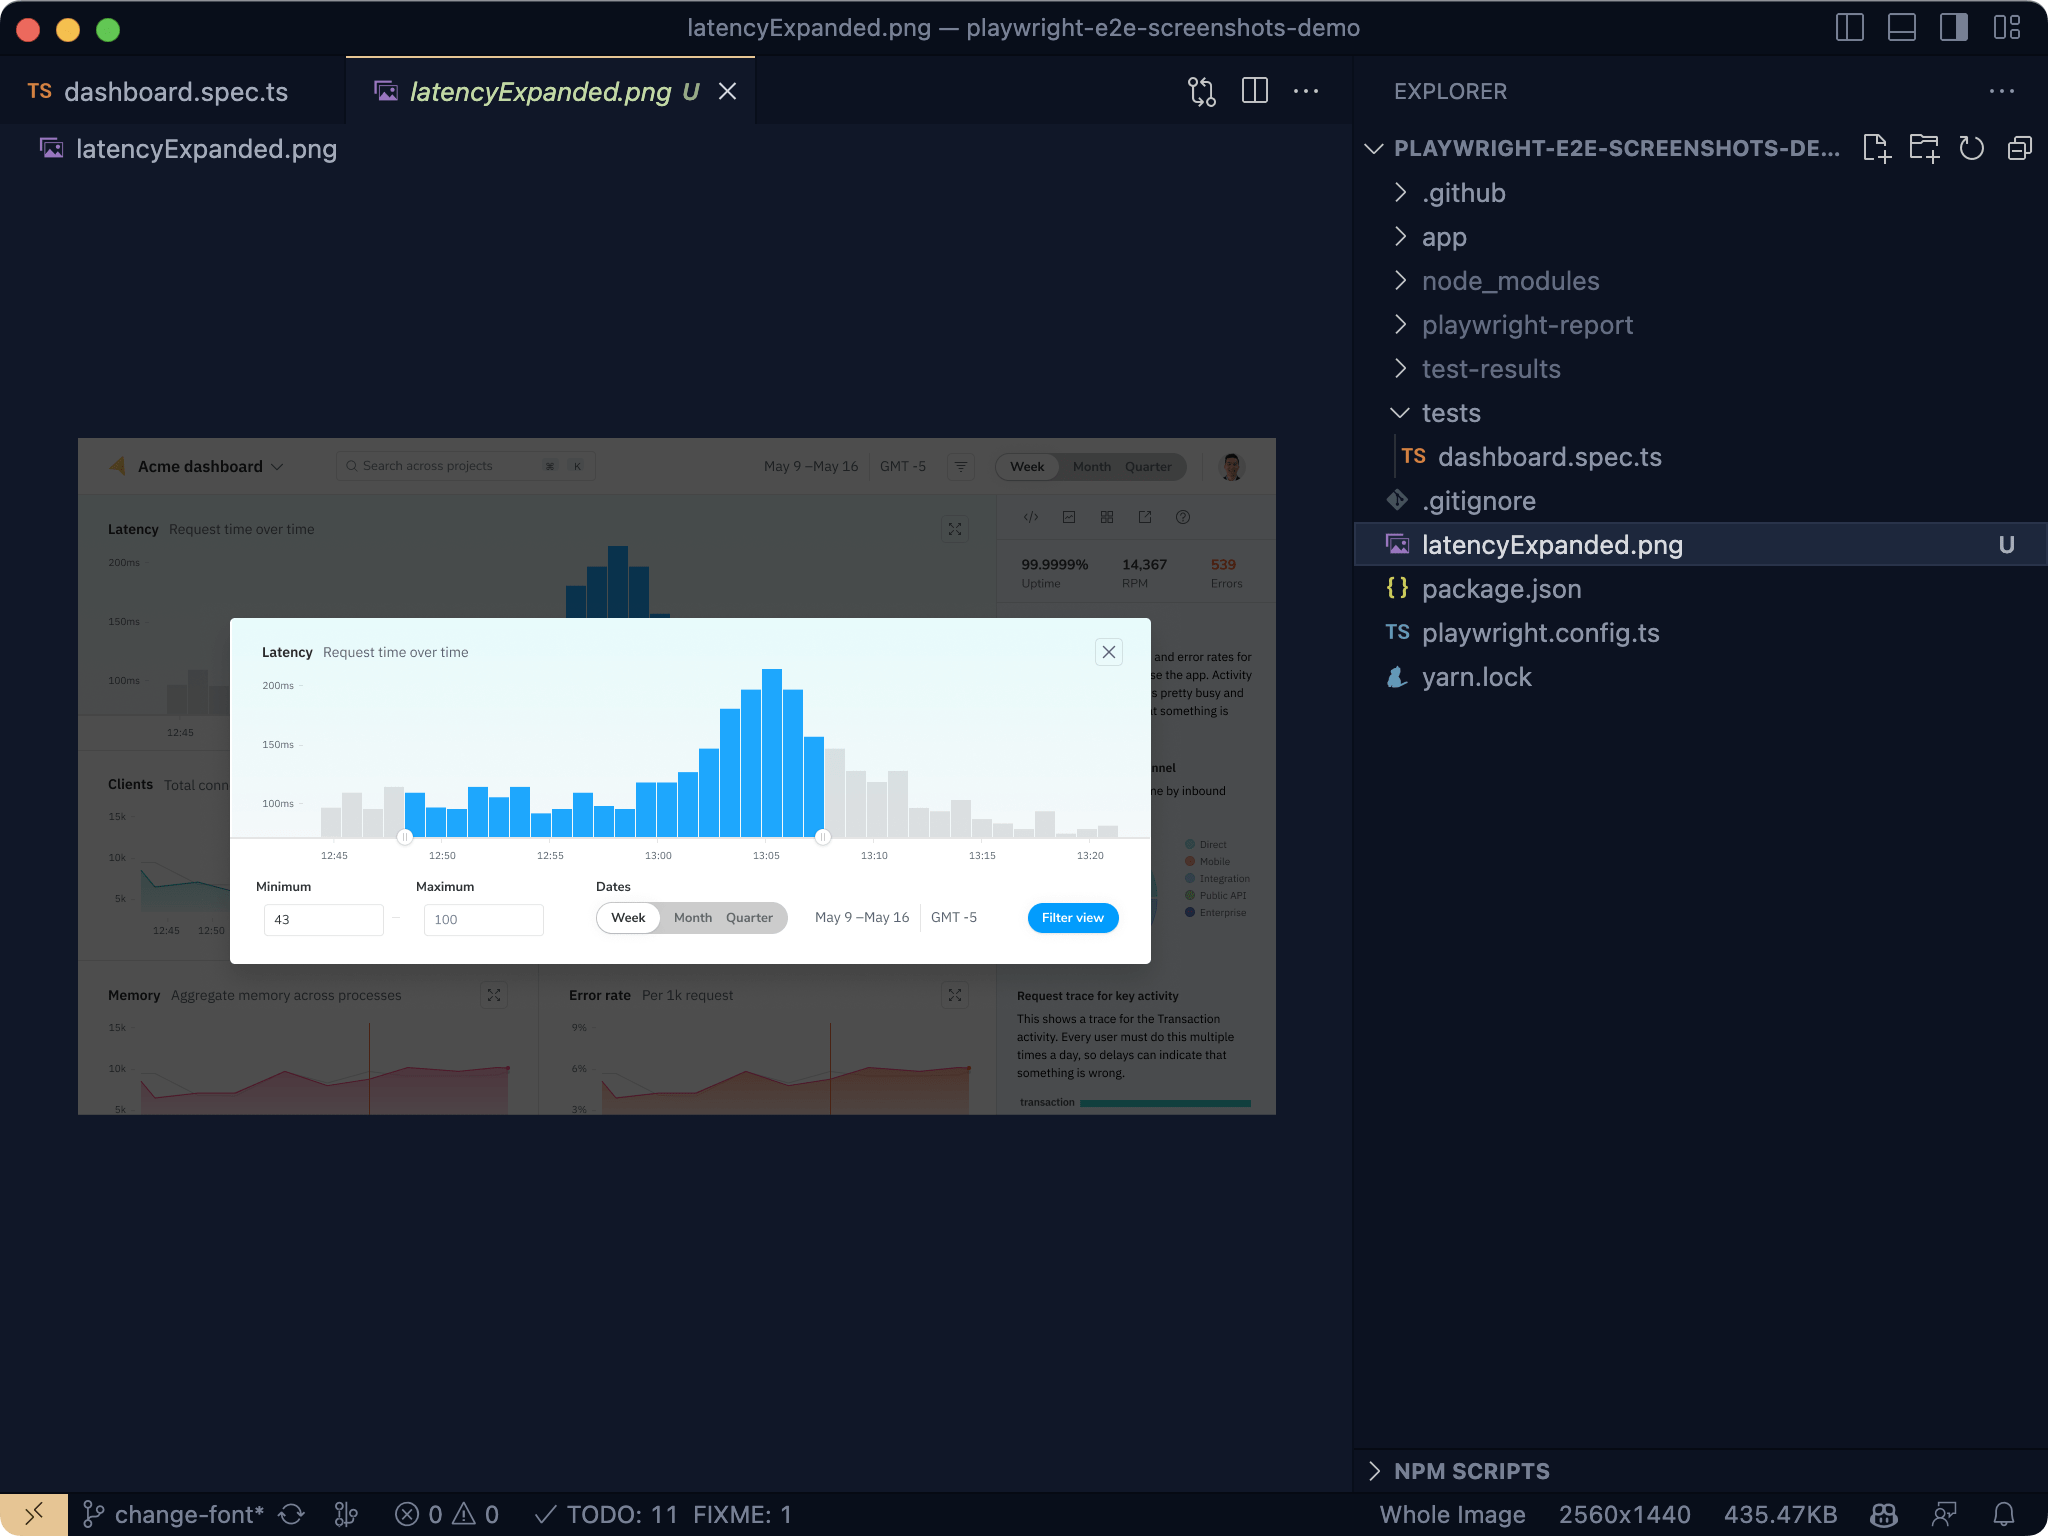
In our example, the screenshot will be saved in the root of the project:
Open the screenshot to confirm that it looks correct:
Now, commit both your code change and the newly created screenshot. Then push your commit, making the screenshot your baseline.
Run Playwright visual tests
Next, we’ll use that baseline screenshot to verify a change.
First, create a new branch and make a code change. For this example, we’ll change our primary chart color:
- chartPrimary: '#FD7748',
+ chartPrimary: '#1EA7FD',
After making the change, run your test command again to save a new screenshot. Once more, open the screenshot to confirm it looks correct.
Commit your changes and make a PR for your new branch.
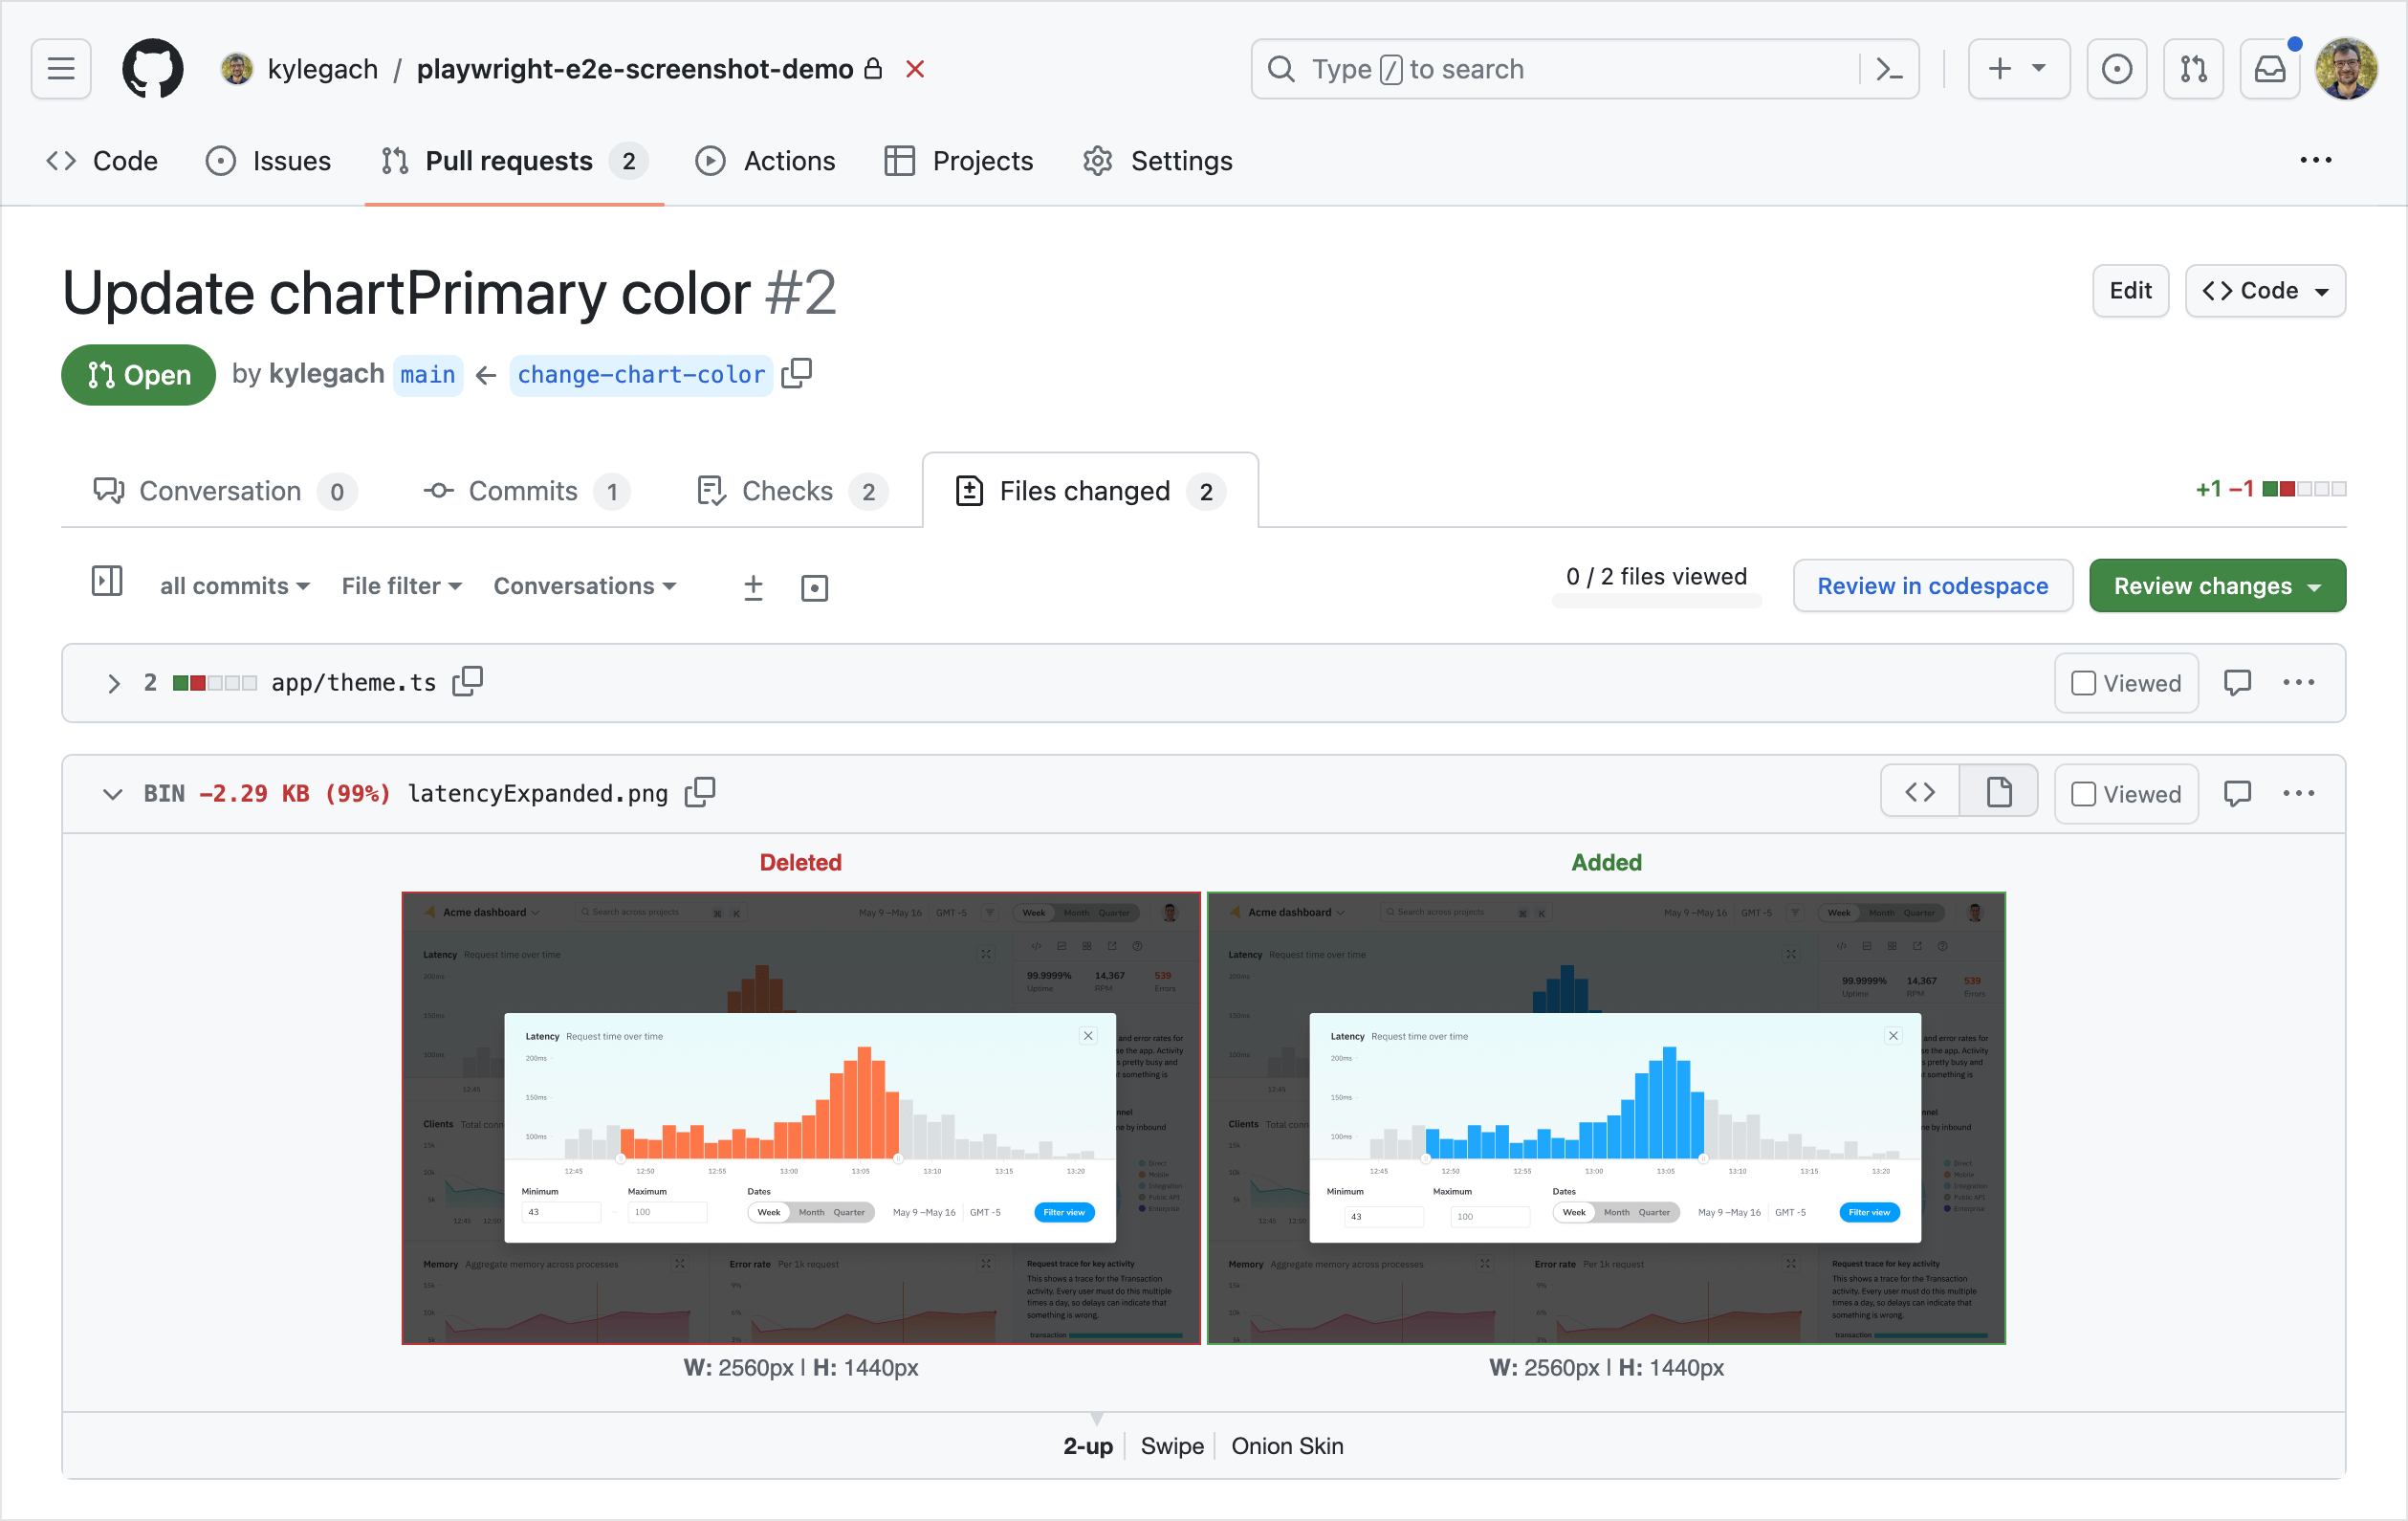
Now, when we review that PR, we can compare the previous baseline screenshot and the modified one:
Automate tests in CI
In the workflow so far, we’ve created the screenshots on a local machine and then committed them to your repo. This can cause problems if you're working with other developers on the same E2E tests, as device differences like installed fonts could cause unnecessary image differences.
To mitigate this, take your screenshots within your continuous integration (CI) environment and let your CI job handle the screenshot and committing process for you. Then, as before, you can review the results as part of the PR review.
Here’s an example using GitHub Actions:
# .github/workflows/e2e.yml
name: E2E tests
on: push
permissions:
  contents: write
jobs:
  E2E:
    runs-on: ubuntu-latest
    steps:
      - uses: actions/setup-node@v3
        with:
          node-version: '16'
      - uses: actions/checkout@v3
      - name: Install dependencies
        run: yarn
      - name: Install Playwright Browsers
        run: yarn playwright install --with-deps
      - name: Run tests
        run: yarn playwright test

      - name: Update E2E screenshots
        run: |
          git config --global user.name 'Your Name'
          git config --global user.email 'you@example.com'
          git commit -am "Update screenshots"
          git push
The screenshots are still part of your repo (which can take up a lot of space if you have many tests), but now they’re created in a shared, consistent environment, eliminating any device differences.
Debugging an issue can be difficult in this flow. A static screenshot often doesn’t provide enough information, and debugging the real page requires navigating through a staging environment and recreating any interactions that took place. Reviewing and collaborating with non-developers can also be tricky because it all happens within the PR experience, which many are unfamiliar with.
Fortunately, there's a better way of doing this with specialized visual testing integrations that can run within and alongside your Playwright E2E tests.
Capture debuggable snapshots and collaborative review
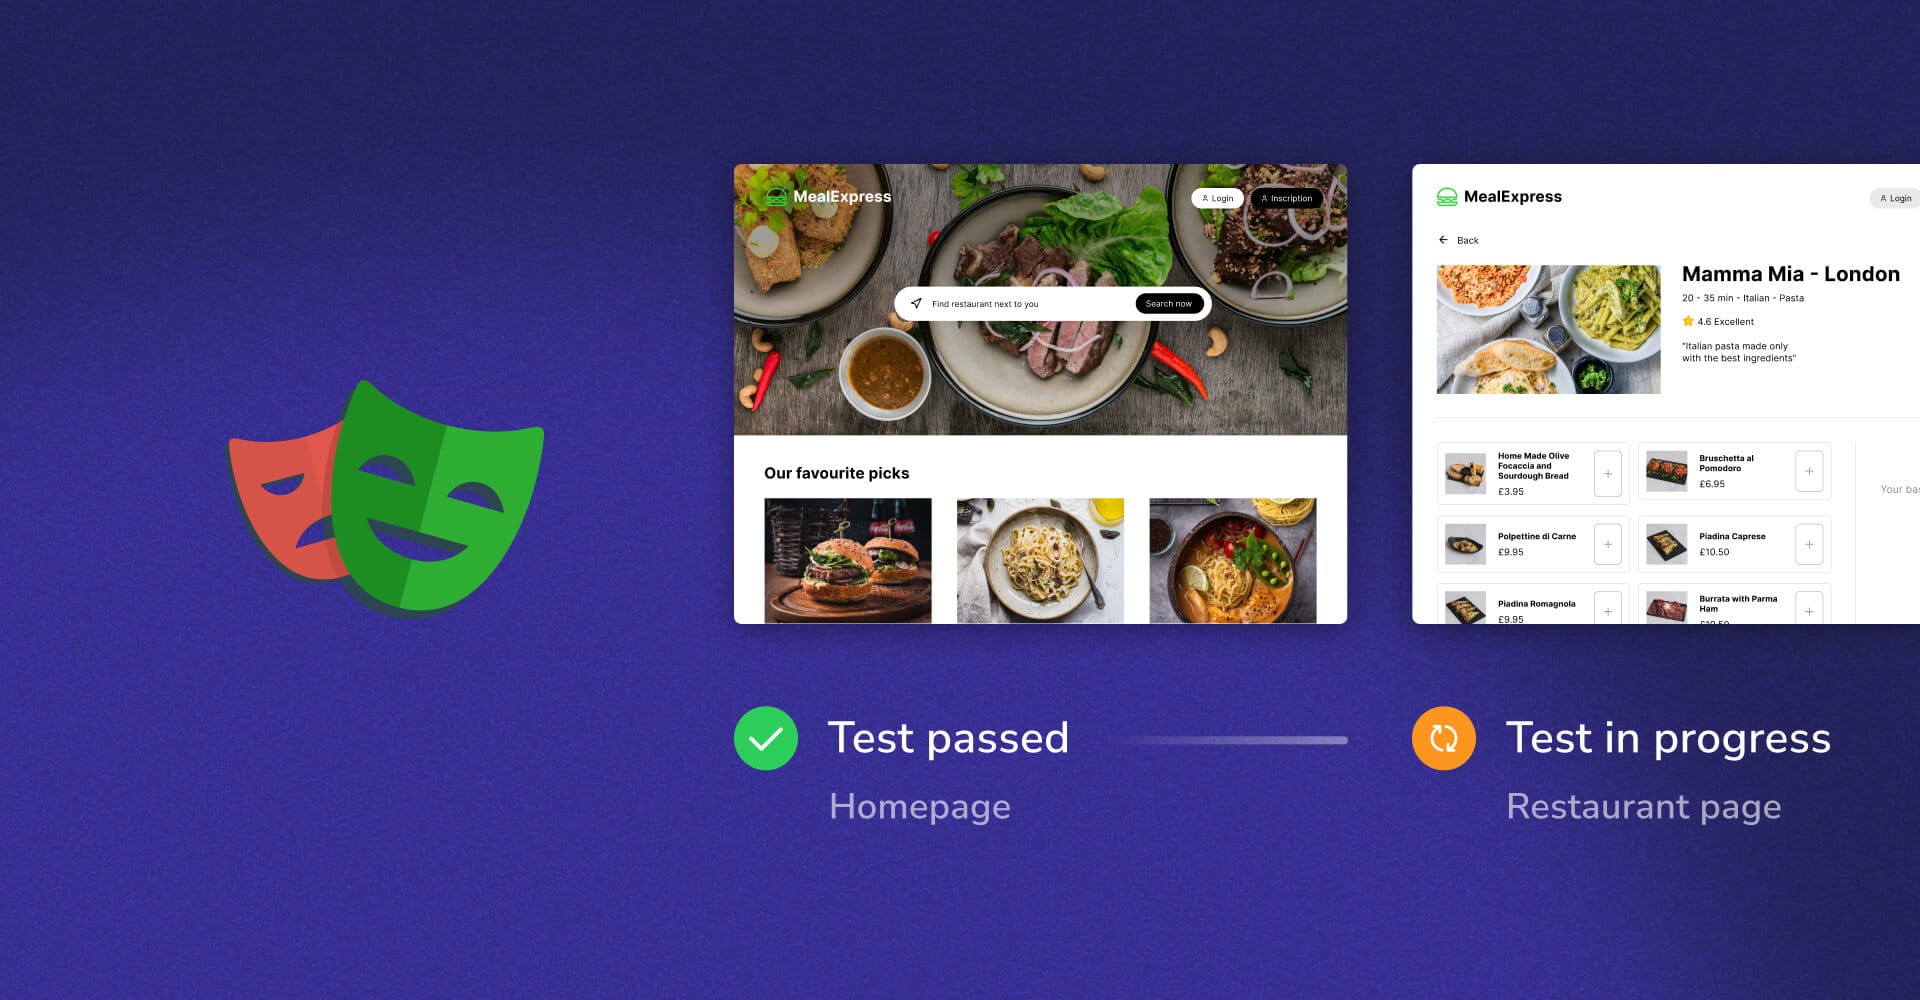
You can take fully interactive snapshots during your Playwright E2E tests by integrating Chromatic, a cloud-based visual testing platform built by the creators of Storybook.
Chromatic's visual testing captures fully rendered versions of the pages tested in an E2E test run, complete with all styling and assets. Chromatic performs all tests in parallel in the cloud (unlike other enterprise tools that charge for parallel testing) and Chromatic stores its test snapshots in cloud storage. This keeps your local machine and test environment as fast as possible.
Get started with Chromatic and Playwright
To get started, first, install chromatic and @chromatic-com/playwright packages from npm.
npm install --save-dev chromatic @chromatic-com/playwrightNext, update your Playwright tests to use the Chromatic-specific testing utilities from @chromatic-com/playwright:
// ➖ Remove this line
// import { test, expect } from '@playwright/test';
// ➕ Add this line
import { test, expect } from "@chromatic-com/playwright";

// Then use as normal 👇
test("Homepage", async ({ page }) => {
  await page.goto("https://mealexpress.com/");

  await expect(page).toHaveTitle("Mealdrop - find your next meal");

  // ...
});
Then, run your Playwright tests as you normally would. For example:
npx playwright testFinally, use your project token and run the following command in your project directory:
npx chromatic --playwright -t=<TOKEN>While your Playwright tests are running, Chromatic captures an archive of your app’s UI for each test. When you execute the chromatic command, it uploads this archive to Chromatic’s cloud infrastructure to capture a snapshot of each test.
When complete your test, you’ll see the build status:
✔ Started build 1
  → Continue setup at https://www.chromatic.com/setup?appId=...
✔ Build 1 auto-accepted
  → Tested X stories across 10 components; captured 10 snapshots in 1 minute 3 seconds
Once in Chromatic, you can share snapshots easily with all of your project's stakeholders and contributors through Chromatic's purpose-built web app for reviewing visual tests, which integrates with your git provider.
Bringing it all together
In this post, you've learned how to perform visual tests using Playwright's visual comparisons. We've also explored some of the disadvantages of Playwright for visual testing and how to resolve those with an enterprise tool like Chromatic so that you can get best-in-class functional and visual tests side by side.
Learn more about configuring Playwright for Chromatic visual testing, or get started today.